Metal Rolling Tray Printing: Custom Printing Techniques and Design Tips
The Art of Metal Tray Printing
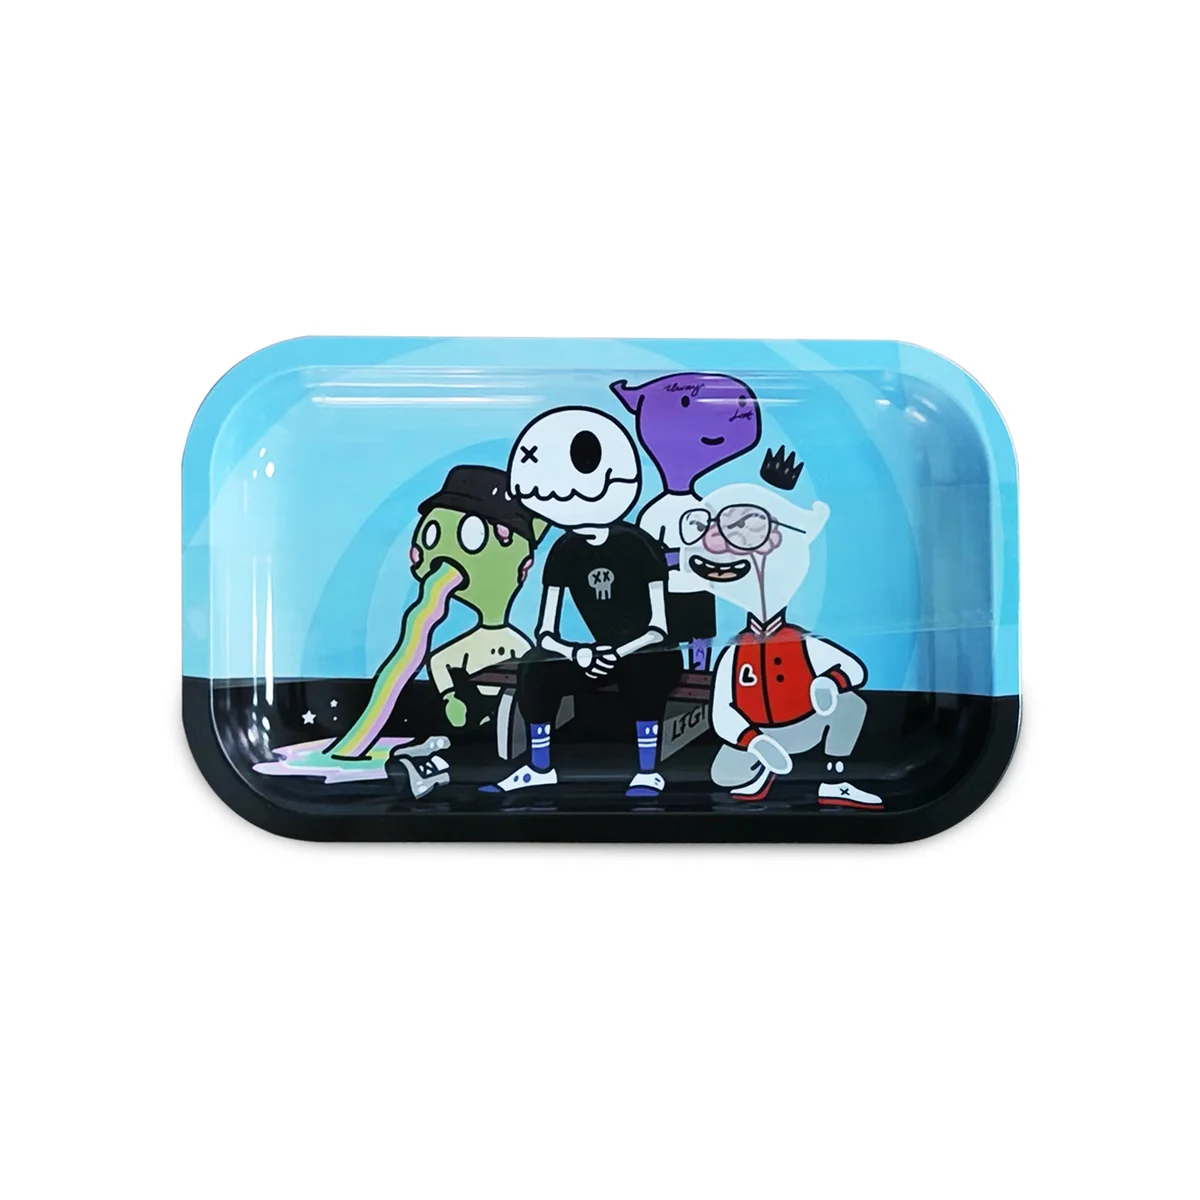
Metal rolling trays offer exceptional printing surfaces for custom rolling trays. Understanding printing techniques helps you create stunning branded products that represent your brand perfectly.
Printing Techniques Explained
CMYK Digital Printing
The most common method for full-color tray printing.
How It Works:
- Uses Cyan, Magenta, Yellow, and Black inks
- Digital file directly printed to metal
- Achieves photo-quality results
- Suitable for complex designs
Advantages:
- Unlimited colors at same cost
- Photographic reproduction
- Gradient capability
- Cost-effective for all quantities
Limitations:
- Vibrant neon colors challenging
- Very subtle gradients may band
- Metallic effects require special treatment
UV Printing
Advanced technology curing ink with ultraviolet light.
How It Works:
- Ink applied to surface
- UV light instantly cures/hardens ink
- Creates durable, vibrant finish
- Excellent adhesion to metal
Advantages:
- Superior durability
- Vivid color saturation
- Scratch resistant
- Fast production
Screen Printing
Traditional method for solid colors and simple designs.
How It Works:
- Ink pushed through mesh screens
- Separate screen per color
- Layer by layer application
- Best for spot colors
Advantages:
- Vibrant solid colors
- Thick ink application
- Traditional aesthetic
- Good for simple logos
Limitations:
- Per-color cost increases
- Gradients not possible
- Setup costs for small runs
Sublimation Printing
Heat-transfer printing for vibrant results.
How It Works:
- Design printed on special paper
- Heat and pressure transfer ink
- Ink bonds at molecular level
- Permanent, embedded color
Advantages:
- Extremely durable
- Colors become part of surface
- Won't peel or crack
- Excellent for detailed designs
Design Optimization Tips
Resolution Requirements
Minimum Standards:
- 300 DPI at print size
- Vector artwork preferred
- High-quality source images
- Proper file formats (AI, PDF, PSD)
Why Resolution Matters:
- Low resolution appears blurry
- Pixelation visible up close
- Professional appearance requires quality
- Print enlarges imperfections
Color Considerations
Color Mode:
- Design in CMYK (not RGB)
- RGB looks different when converted
- Match Pantone for brand colors
- Request proofs before production
Color Tips:
- Bright colors pop on metal
- Dark backgrounds show scratches less
- White requires opacity layers
- Test metallic background effects
Bleed and Safe Zones
Bleed Area:
- Extend design 1/8" beyond trim
- Prevents white edges
- Accounts for cutting variations
- Essential for edge-to-edge printing
Safe Zone:
- Keep important elements 1/4" from edges
- Text should never touch borders
- Logos need breathing room
- Consider tray curve at edges
Effective Design Elements
What Works Well:
- High contrast images
- Bold, readable text
- Clear logo placement
- Intentional negative space
What to Avoid:
- Tiny text (under 8pt)
- Thin lines (under 1pt)
- Low contrast combinations
- Over-complicated layouts
Finish Options
Matte Finish
Characteristics:
- Non-reflective surface
- Subtle, sophisticated look
- Hides fingerprints better
- Modern appearance
Best For:
- Professional brands
- Minimalist designs
- Dark color schemes
- Photography-heavy designs
Gloss Finish
Characteristics:
- Shiny, reflective surface
- Vibrant color pop
- Shows fingerprints more
- Eye-catching appearance
Best For:
- Bright, colorful designs
- Retail display trays
- Bold branding
- Attention-grabbing products
Satin Finish
Characteristics:
- Between matte and gloss
- Subtle sheen
- Balanced appearance
- Versatile option
Best For:
- Mixed design elements
- Uncertain preferences
- Balanced aesthetics
- Professional versatility
Branding Best Practices
Logo Placement
Central Placement:
- Maximum visibility
- Balanced composition
- Clear brand statement
- Works with any background
Corner Placement:
- Subtle branding
- Design-forward approach
- Professional appearance
- Allows artistic expression
Brand Color Accuracy
Ensuring Consistency:
- Provide Pantone references
- Request physical proofs
- Compare to brand guidelines
- Approve before production
Typography Guidelines
Text Optimization:
- Minimum 10pt for body text
- Bold fonts for small sizes
- Sans-serif for small text
- Test readability at actual size
Design File Requirements
Accepted Formats
- Adobe Illustrator (.ai)
- PDF (print-ready)
- High-res PSD (300+ DPI)
- EPS with fonts outlined
File Preparation Checklist
- Correct dimensions with bleed
- CMYK color mode
- 300+ DPI resolution
- Fonts converted to outlines
- Layers flattened or organized
- No transparency issues
Common Printing Mistakes to Avoid
Design Errors
- Using RGB instead of CMYK
- Low resolution images
- Missing bleed area
- Text too close to edges
- Unoutlined fonts
Color Errors
- Assuming screen matches print
- Not requesting proofs
- Mixing color modes
- Ignoring color profiles
File Errors
- Wrong dimensions
- Missing fonts
- Corrupted files
- Outdated versions
Quality Control
Proofing Process
- Review digital proof carefully
- Check colors on calibrated monitor
- Verify text accuracy
- Confirm dimensions
- Approve or request changes
Production Samples
For large orders:
- Request physical sample first
- Evaluate print quality
- Check color accuracy
- Assess finish quality
- Approve before full production
Working with MunchMakers
Our design team helps optimize your custom rolling trays:
- Submit your design or concept
- Receive free digital mockup
- Review and provide feedback
- Approve final design
- Production begins
Request a mockup to see your brand on quality metal rolling trays!
MunchMakers specializes in premium printed cannabis accessories.
Ready to Create Your Custom Rolling Trays?
Put your brand in your customers' hands. Get a free mockup in 24 hours.
Related Articles
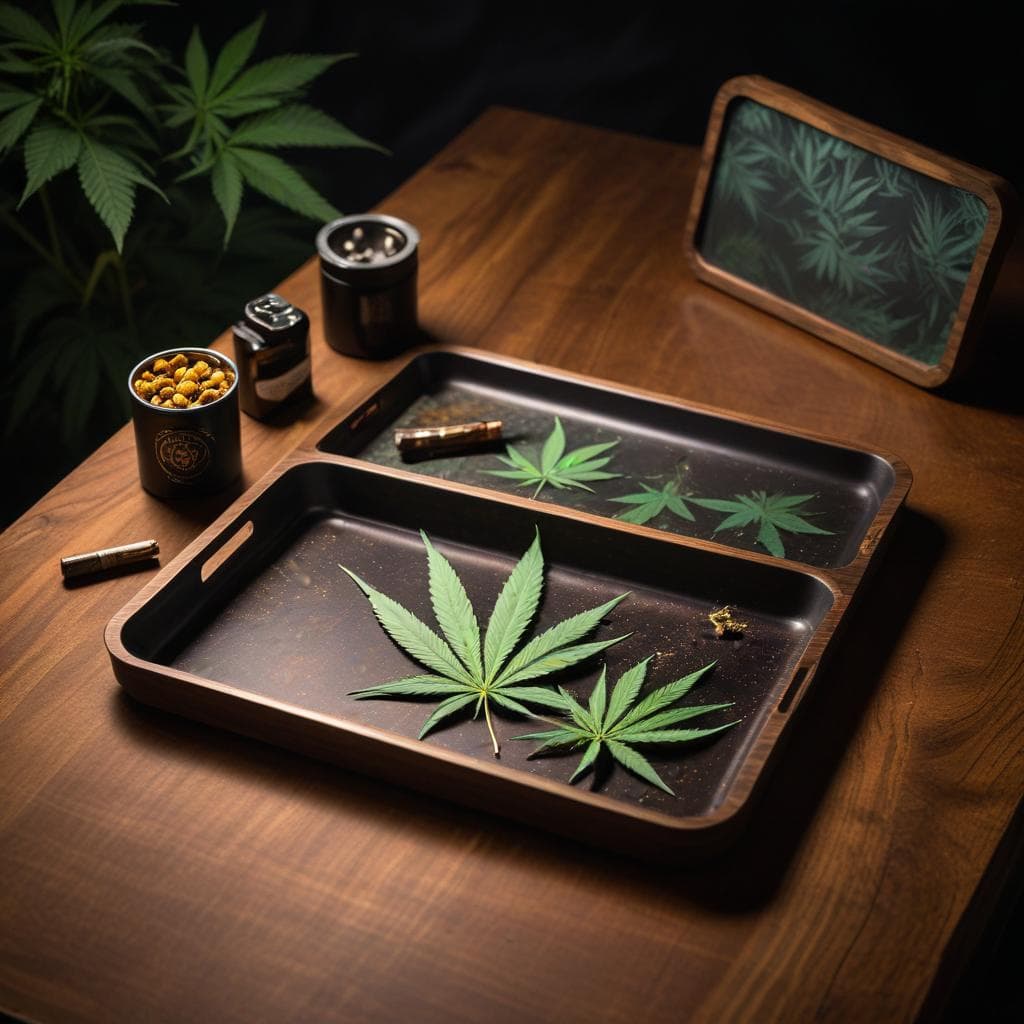
Metal vs Wood vs LED Rolling Trays: Which is Best for Your Brand?
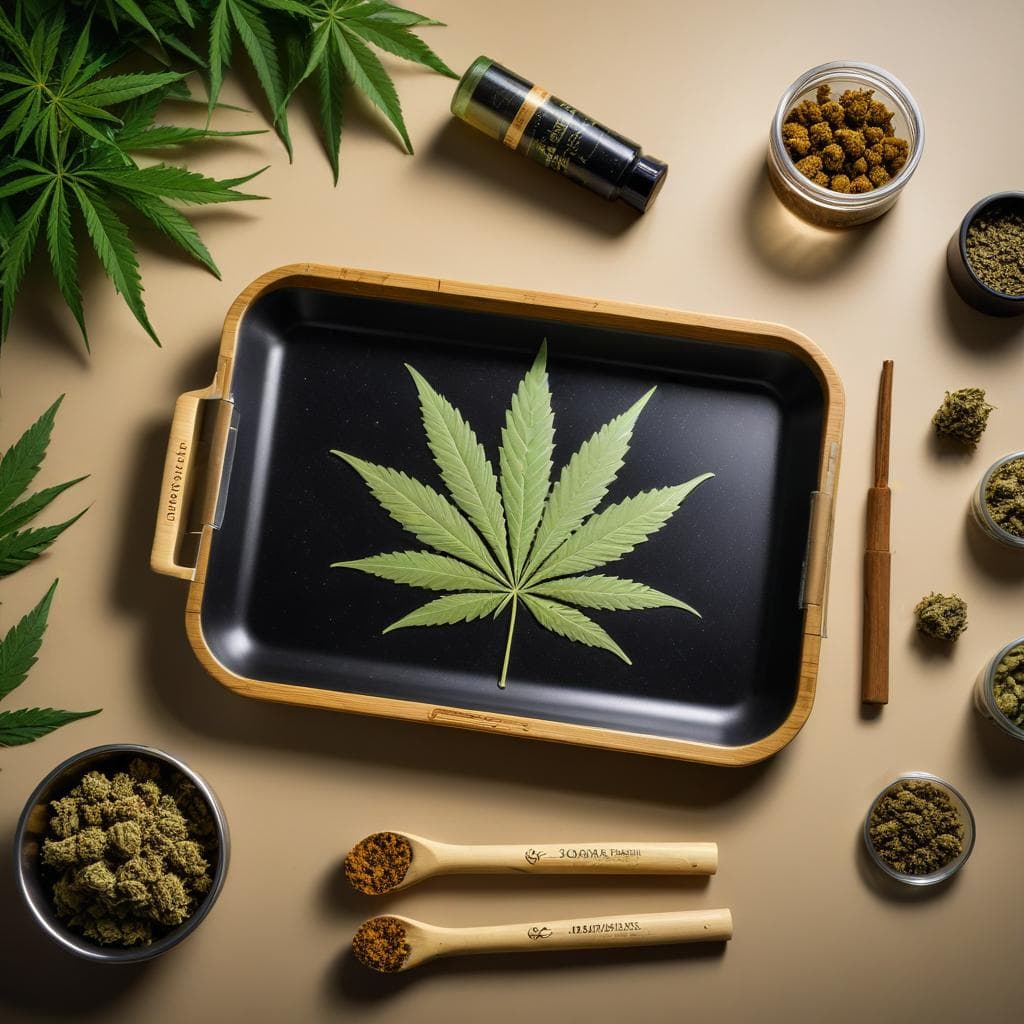
Bamboo vs Metal Rolling Trays: Complete Material Comparison Guide