How to Make Rolling Trays: DIY Guide for Custom Rolling Trays at Home
How to Make Rolling Trays: Complete DIY Guide
Making your own custom rolling trays is a rewarding DIY project that lets you create personalized pieces for yourself or as gifts. Whether you want to make rolling trays with pictures, use epoxy resin, or create simple painted designs, this comprehensive guide covers everything you need to know.
What You Need to Make Rolling Trays
Before starting your DIY rolling tray project, gather these essential materials:
Basic Materials
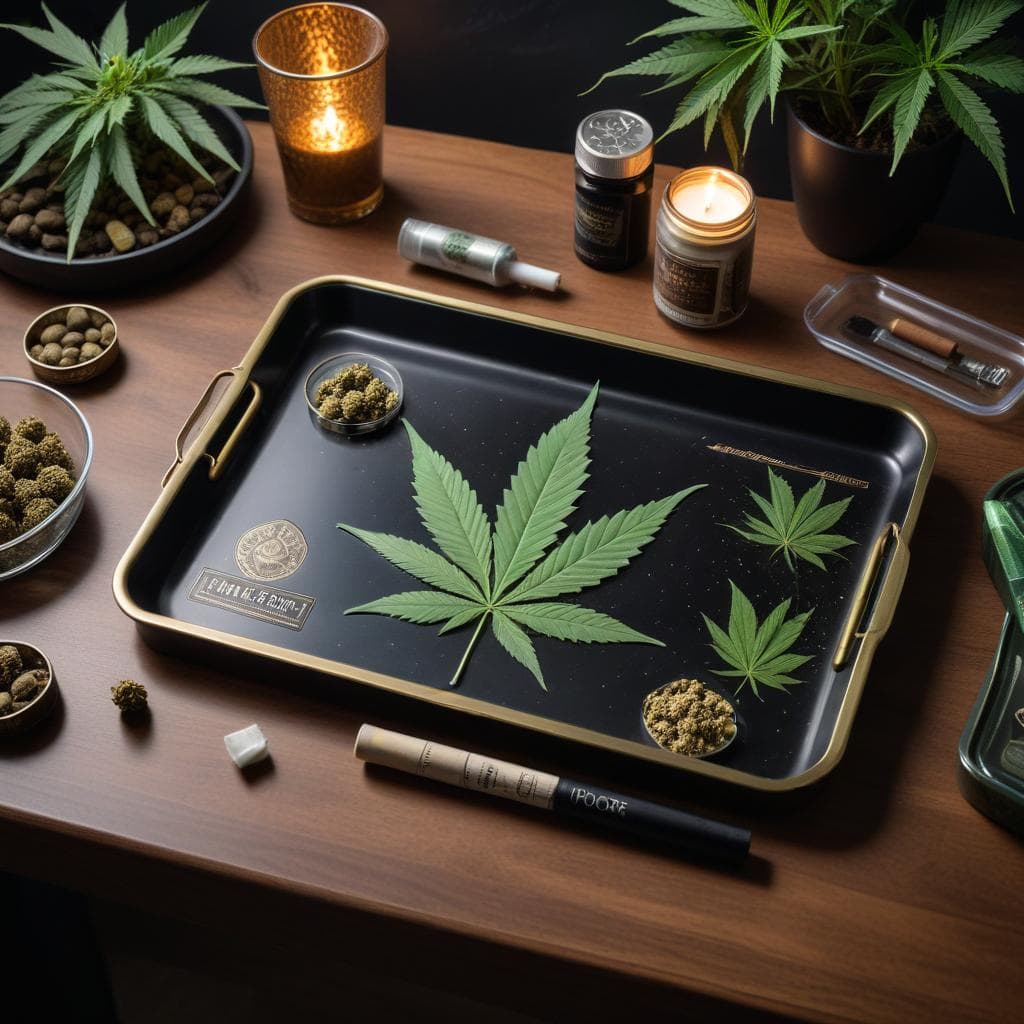
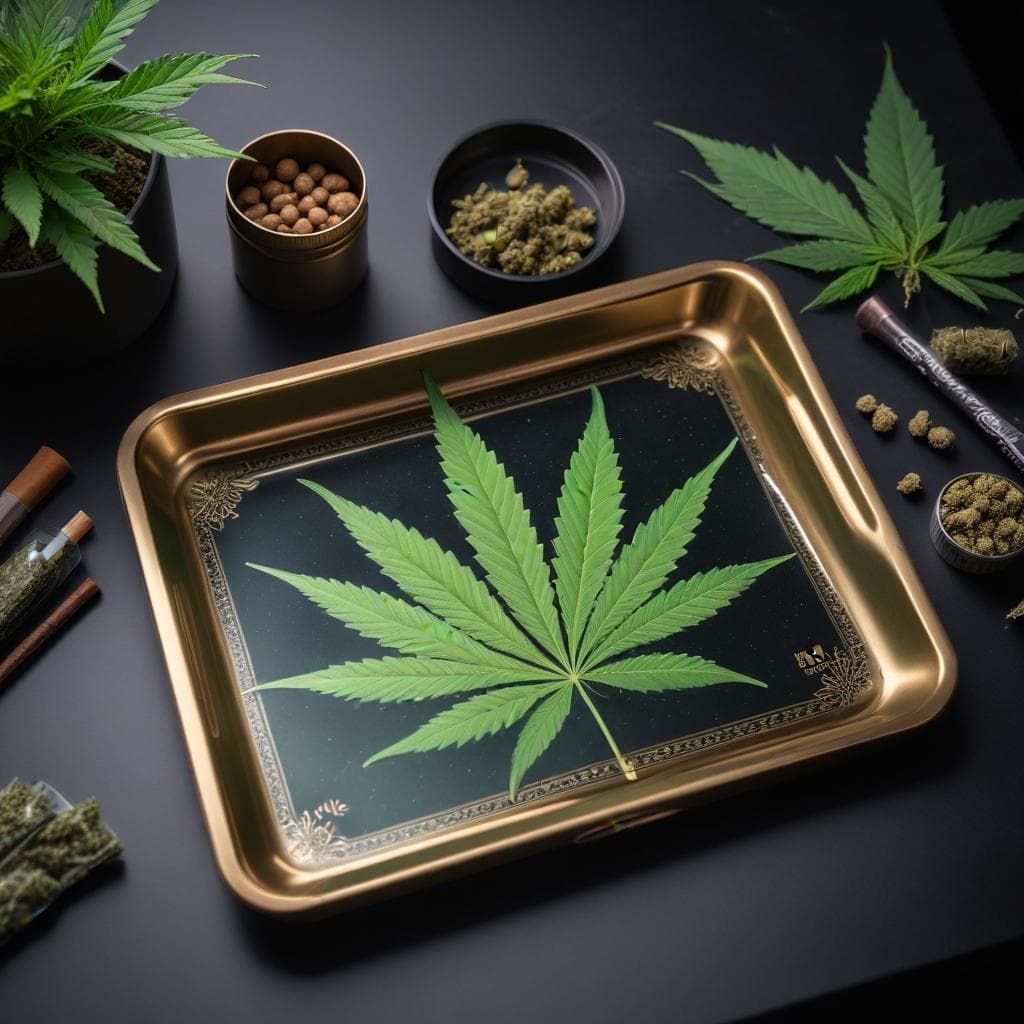
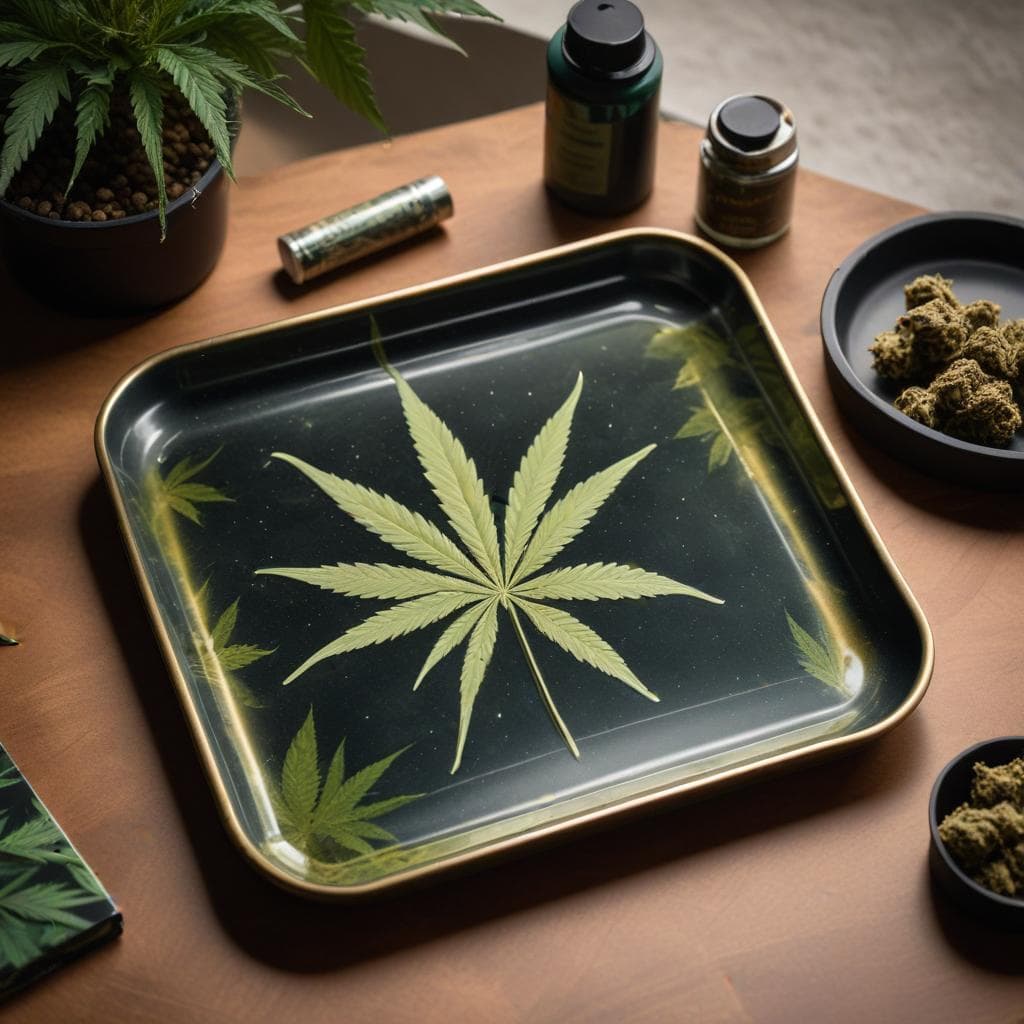
- Base tray: Small metal or wooden trays (5x7" to 7x11")
- Sandpaper: 220-400 grit for surface prep
- Primer: Metal or wood primer depending on base
- Paint: Acrylic or spray paint
- Sealer: Clear coat or epoxy resin
For Picture Rolling Trays
- High-resolution printed images
- Mod Podge or decoupage medium
- Transfer paper (optional)
- Clear epoxy resin for sealing
For Epoxy Rolling Trays
- Two-part epoxy resin kit
- Mixing cups and stir sticks
- Gloves and protective gear
- Heat gun or torch for bubbles
- Pigments or dyes (optional)
You can find blank metal trays at craft stores or through wholesale suppliers. For professional results, consider ordering blank rolling trays in bulk.
How to Make Custom Rolling Trays: Step-by-Step
Method 1: Painted Rolling Trays (Easiest)
Perfect for beginners who want to make rolling trays at home without epoxy:
-
Prepare the Surface
- Clean the tray thoroughly with isopropyl alcohol
- Sand lightly with 220-grit sandpaper
- Wipe away all dust with a tack cloth
-
Apply Primer
- Use metal primer for metal trays
- Apply thin, even coats
- Let dry completely (2-4 hours)
-
Paint Your Design
- Use acrylic paint or spray paint
- Apply multiple thin coats instead of one thick coat
- Let each coat dry 30 minutes
- Use stencils for precise designs
-
Seal the Surface
- Apply 2-3 coats of clear polyurethane
- Allow 24 hours for full curing
- Buff with fine steel wool for smooth finish
Method 2: How to Make Rolling Trays with Pictures
Create personalized rolling trays with custom photos or artwork:
-
Print Your Images
- Use high-quality photo paper
- Print at actual tray size
- Consider waterproof ink if available
-
Prepare the Tray
- Clean and sand as in Method 1
- Apply white primer for better image visibility
- Let dry completely
-
Apply the Image
- Brush thin layer of Mod Podge on tray
- Carefully place image face-down
- Smooth out all air bubbles
- Let dry overnight
-
Seal with Resin (recommended)
- Mix two-part epoxy according to instructions
- Pour thin layer over entire tray
- Use heat gun to remove air bubbles
- Let cure 24-48 hours
For professional photo printing on rolling trays, MunchMakers offers full-color UV printing services.
How to Make Rolling Trays with Epoxy
Epoxy resin creates a glass-like finish that's durable and professional:
Preparing for Epoxy Work
Safety First:
- Work in well-ventilated area
- Wear nitrile gloves
- Protect work surface with plastic
- Keep away from heat sources
Step-by-Step Epoxy Process
-
Prepare Your Base
- Prime and paint tray if desired
- Ensure surface is completely dry
- Level your work surface (use bubble level)
-
Mix Epoxy Resin
- Follow manufacturer's ratios exactly (usually 1:1)
- Mix slowly to avoid bubbles
- Stir for 3-5 minutes minimum
- Let sit 5 minutes to release trapped air
-
Pour the Resin
- Pour slowly from center of tray
- Let resin naturally spread to edges
- Use stir stick to guide to corners
- Don't over-pour - surface tension holds it in
-
Remove Air Bubbles
- Pass heat gun 6-8 inches above surface
- Or use torch briefly (3-4 seconds)
- Check every 10 minutes for first hour
-
Cure and Finish
- Cover loosely to prevent dust
- Let cure per manufacturer instructions (usually 24-72 hours)
- Sand edges smooth with 400-grit sandpaper
- Buff with polishing compound if desired
Adding Design Elements to Epoxy
- Colors: Mix in resin pigments or alcohol inks
- Glitter: Add in thin layers between pours
- Photos: Embed between two resin layers
- Objects: Seal dried flowers, stickers, etc.
How to Make Rolling Trays Without Epoxy
If you want to avoid epoxy resin:
-
Acrylic Sealer Method
- Paint your design
- Apply 5-6 coats of clear acrylic sealer
- Sand between coats with 400-grit paper
- Finish with paste wax
-
Polyurethane Method
- More durable than acrylic
- Use water-based for clarity
- Apply 3-4 coats
- Sand between coats for glass-like finish
-
Vinyl Decal Method
- Design graphics in Cricut or Silhouette
- Apply adhesive vinyl
- Seal with clear coat
- Easiest method for text and logos
For high-quality custom graphics, pair your DIY tray with professional custom rolling papers from MunchMakers.
How to Make Personalized Rolling Trays
Ideas for Personalization
-
Name or Initials
- Use vinyl letter stickers
- Hand paint with stencils
- Engrave if using wood base
-
Photos and Memories
- Wedding photos
- Pet pictures
- Favorite band or artist
- Travel memories
-
Themed Designs
- Sports teams
- Gaming characters
- Abstract art
- Nature scenes
-
Business Branding
- Company logo
- Product promotion
- Event giveaway
For business needs, professional custom rolling trays offer better consistency and bulk pricing.
Cost Breakdown: DIY vs Custom Orders
DIY Rolling Tray Costs
- Blank metal tray: $2-5
- Paint and supplies: $20-30
- Epoxy resin kit: $25-40
- Tools (one-time): $15-25
- Total per tray: $8-15 (first tray higher)
- Time investment: 3-5 hours plus curing
Professional Custom Trays
- Custom rolling trays (50+ units): $3-8 each
- Professional printing included
- Consistent quality
- Time investment: Zero
- Free mockups and design help
For personal projects, DIY is fun. For business or events, wholesale rolling trays save time and money.
Common DIY Rolling Tray Mistakes
-
Not Preparing Surface
- Always clean and sand
- Oils prevent adhesion
-
Rushing the Process
- Let each coat fully dry
- Rushing causes peeling
-
Using Too Much Resin
- Follow measurements exactly
- Too much creates drips
-
Skipping Sealer
- Unprotected paint wears quickly
- Always seal final product
-
Poor Ventilation
- Epoxy fumes are harmful
- Work outdoors or with fan
Tips for Better DIY Rolling Trays
Surface Preparation
- Clean with rubbing alcohol, not water
- Sand in circular motions
- Remove all dust before painting
Painting Tips
- Thin coats prevent runs
- Use spray paint for even coverage
- Tape off edges for clean lines
Epoxy Tips
- Room temperature affects cure time
- Level surface prevents pooling
- Cover but don't seal during curing
Design Ideas
- Test designs on paper first
- Use reference images
- Keep it simple for first projects
Scaling Up: Making Multiple Trays
If you're making several trays:
-
Batch Your Process
- Prep all trays at once
- Paint in batches
- Pour epoxy on multiple trays
-
Create Templates
- Make reusable stencils
- Standard designs save time
- Consistent sizing
-
Consider Going Pro
- At 20+ trays, professional production becomes cost-effective
- Better quality control
- Professional packaging available
Pairing Your DIY Tray with Smoking Accessories
Complete your custom setup with quality accessories:
- Custom Grinders: Match your tray with branded grinders
- Rolling Papers: Custom papers for complete branding
- Lighters: Custom lighters complement your tray
- Gift Sets: Create complete gift packages
When to DIY vs Order Custom
Choose DIY When:
- Making 1-5 personal trays
- Enjoy crafting as a hobby
- Want completely unique design
- Have time for the process
Order Professional When:
- Need 20+ trays
- Require consistent quality
- Business or promotional use
- Want specific features (LED, magnetic)
Get Professional Results
While DIY rolling trays are fun projects, professional custom rolling trays offer:
- Consistent quality across large orders
- Professional printing techniques
- Specialty materials (LED, magnetic)
- Bulk pricing that beats DIY costs
- Zero time investment
- Free design mockups
Request a free mockup to see your design professionally printed on quality rolling trays.
Ready to Create?
Whether you're making rolling trays at home for personal use or considering professional custom trays for your business, you now have everything you need to get started.
For DIY projects, gather your materials and follow our step-by-step guides. For business needs, browse our custom rolling tray collection to see what's possible with professional production.
Have questions about custom printing, minimum orders, or design options? Contact MunchMakers for expert guidance on your rolling tray project!
Ready to Create Your Custom Rolling Trays?
Put your brand in your customers' hands. Get a free mockup in 24 hours.